
Elderberries come from the Sambucus tree (Latin for Elderberry), a tree which is native to Europe but grown all over the world now. There are several varieties but all have a long history in health and wellness. In folk medicine, the dried berries or juice were used to treat influenza, infections, sciatica, headaches, dental pain, heart pain, nerve pain and more. Elderberries are also high in antioxidants. Elderberry syrup can help strengthen your immune system by "scrubbing to blood" so to speak, but it also works well at reducing inflammation. * (see note at end on this). Local-to-you honey might help seasonal allergies in your own environment but there are no strong studies to prove it. However, it's always the freshest and most natural honey! If you simply cannot use honey due to bee pollen allergies or other health concerns you may absolutely use other sweeteners, but if you can use honey, please do - it's so good for you! 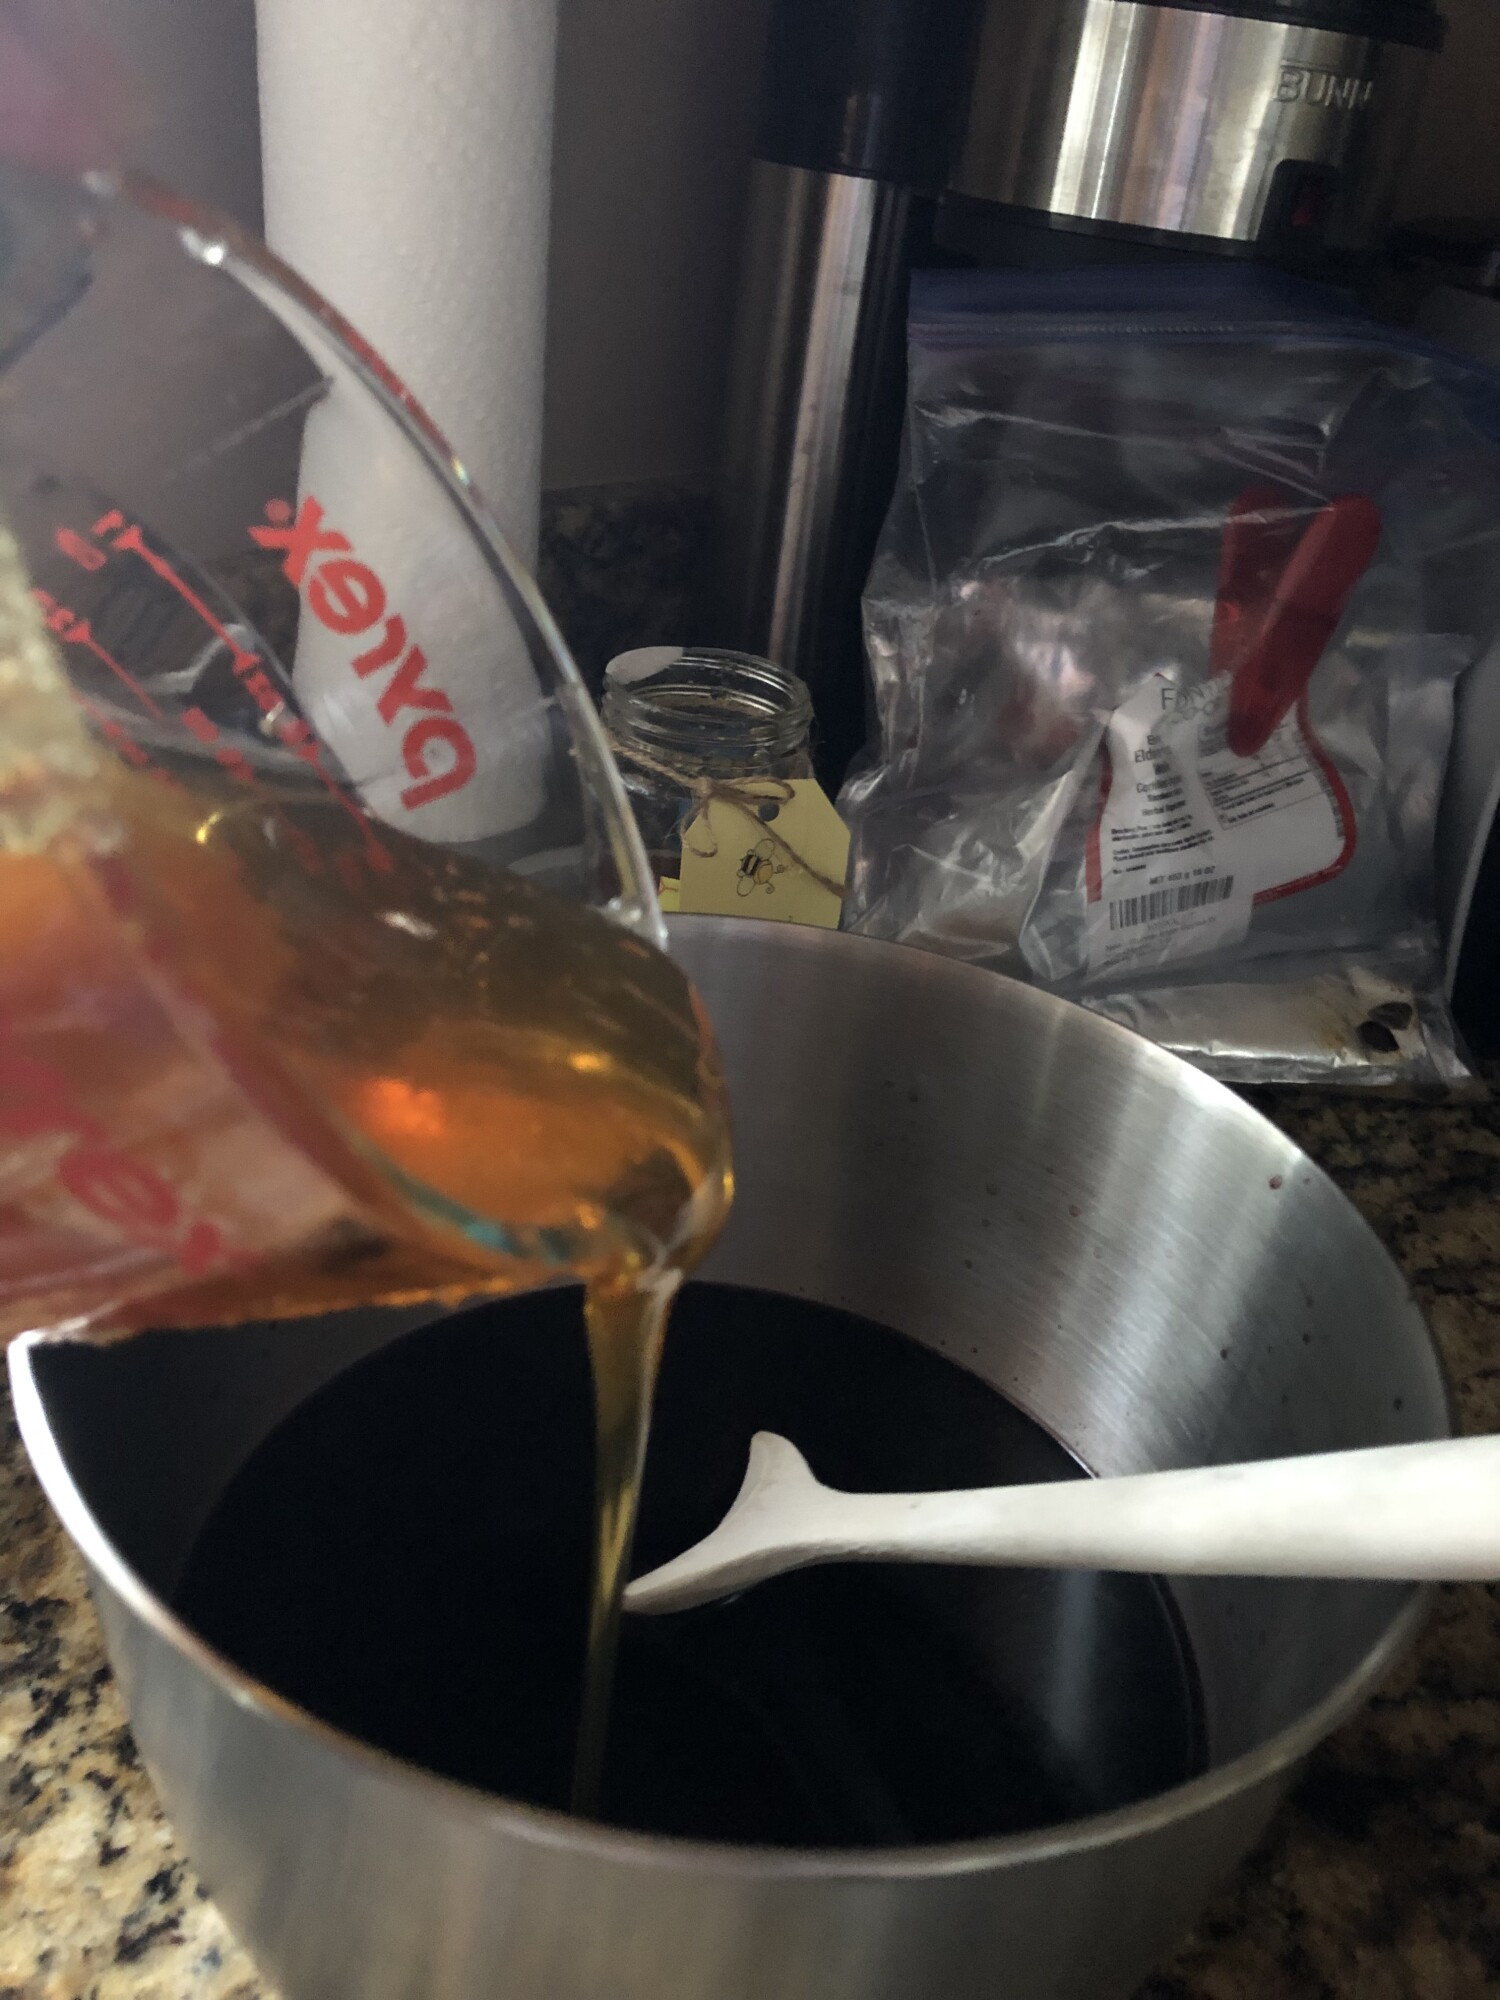
Here is the recipe I like the best:
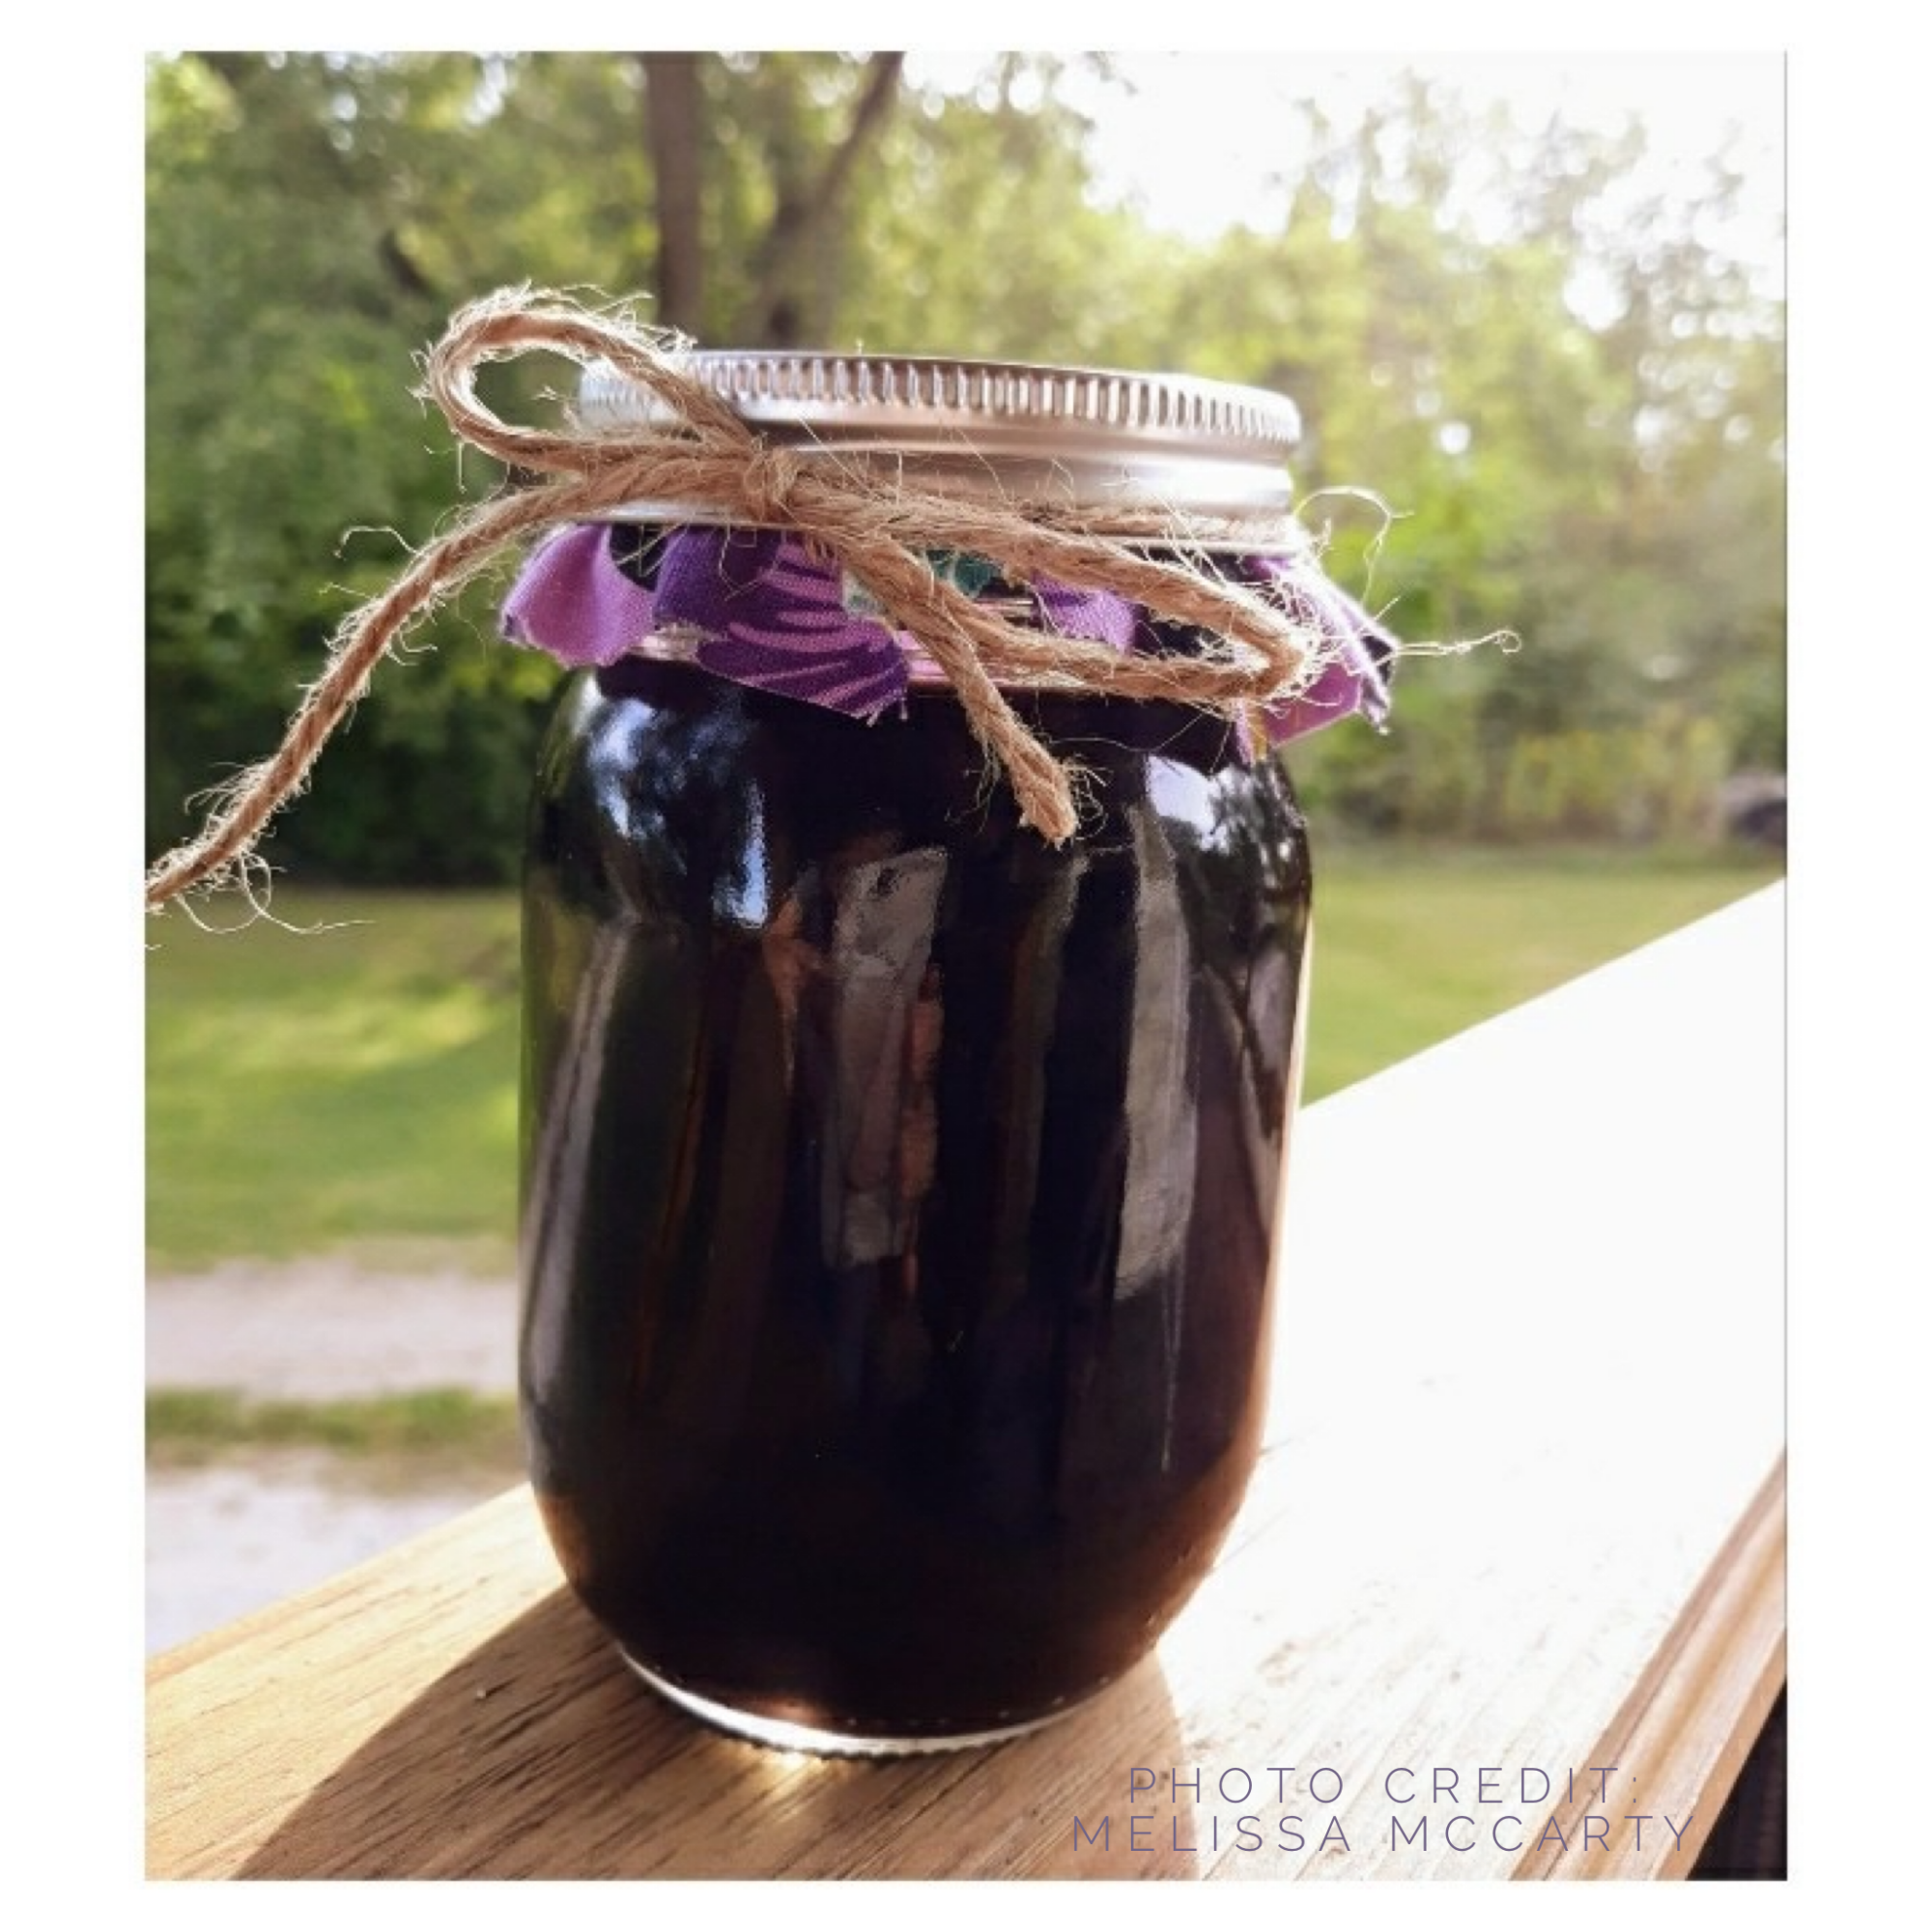
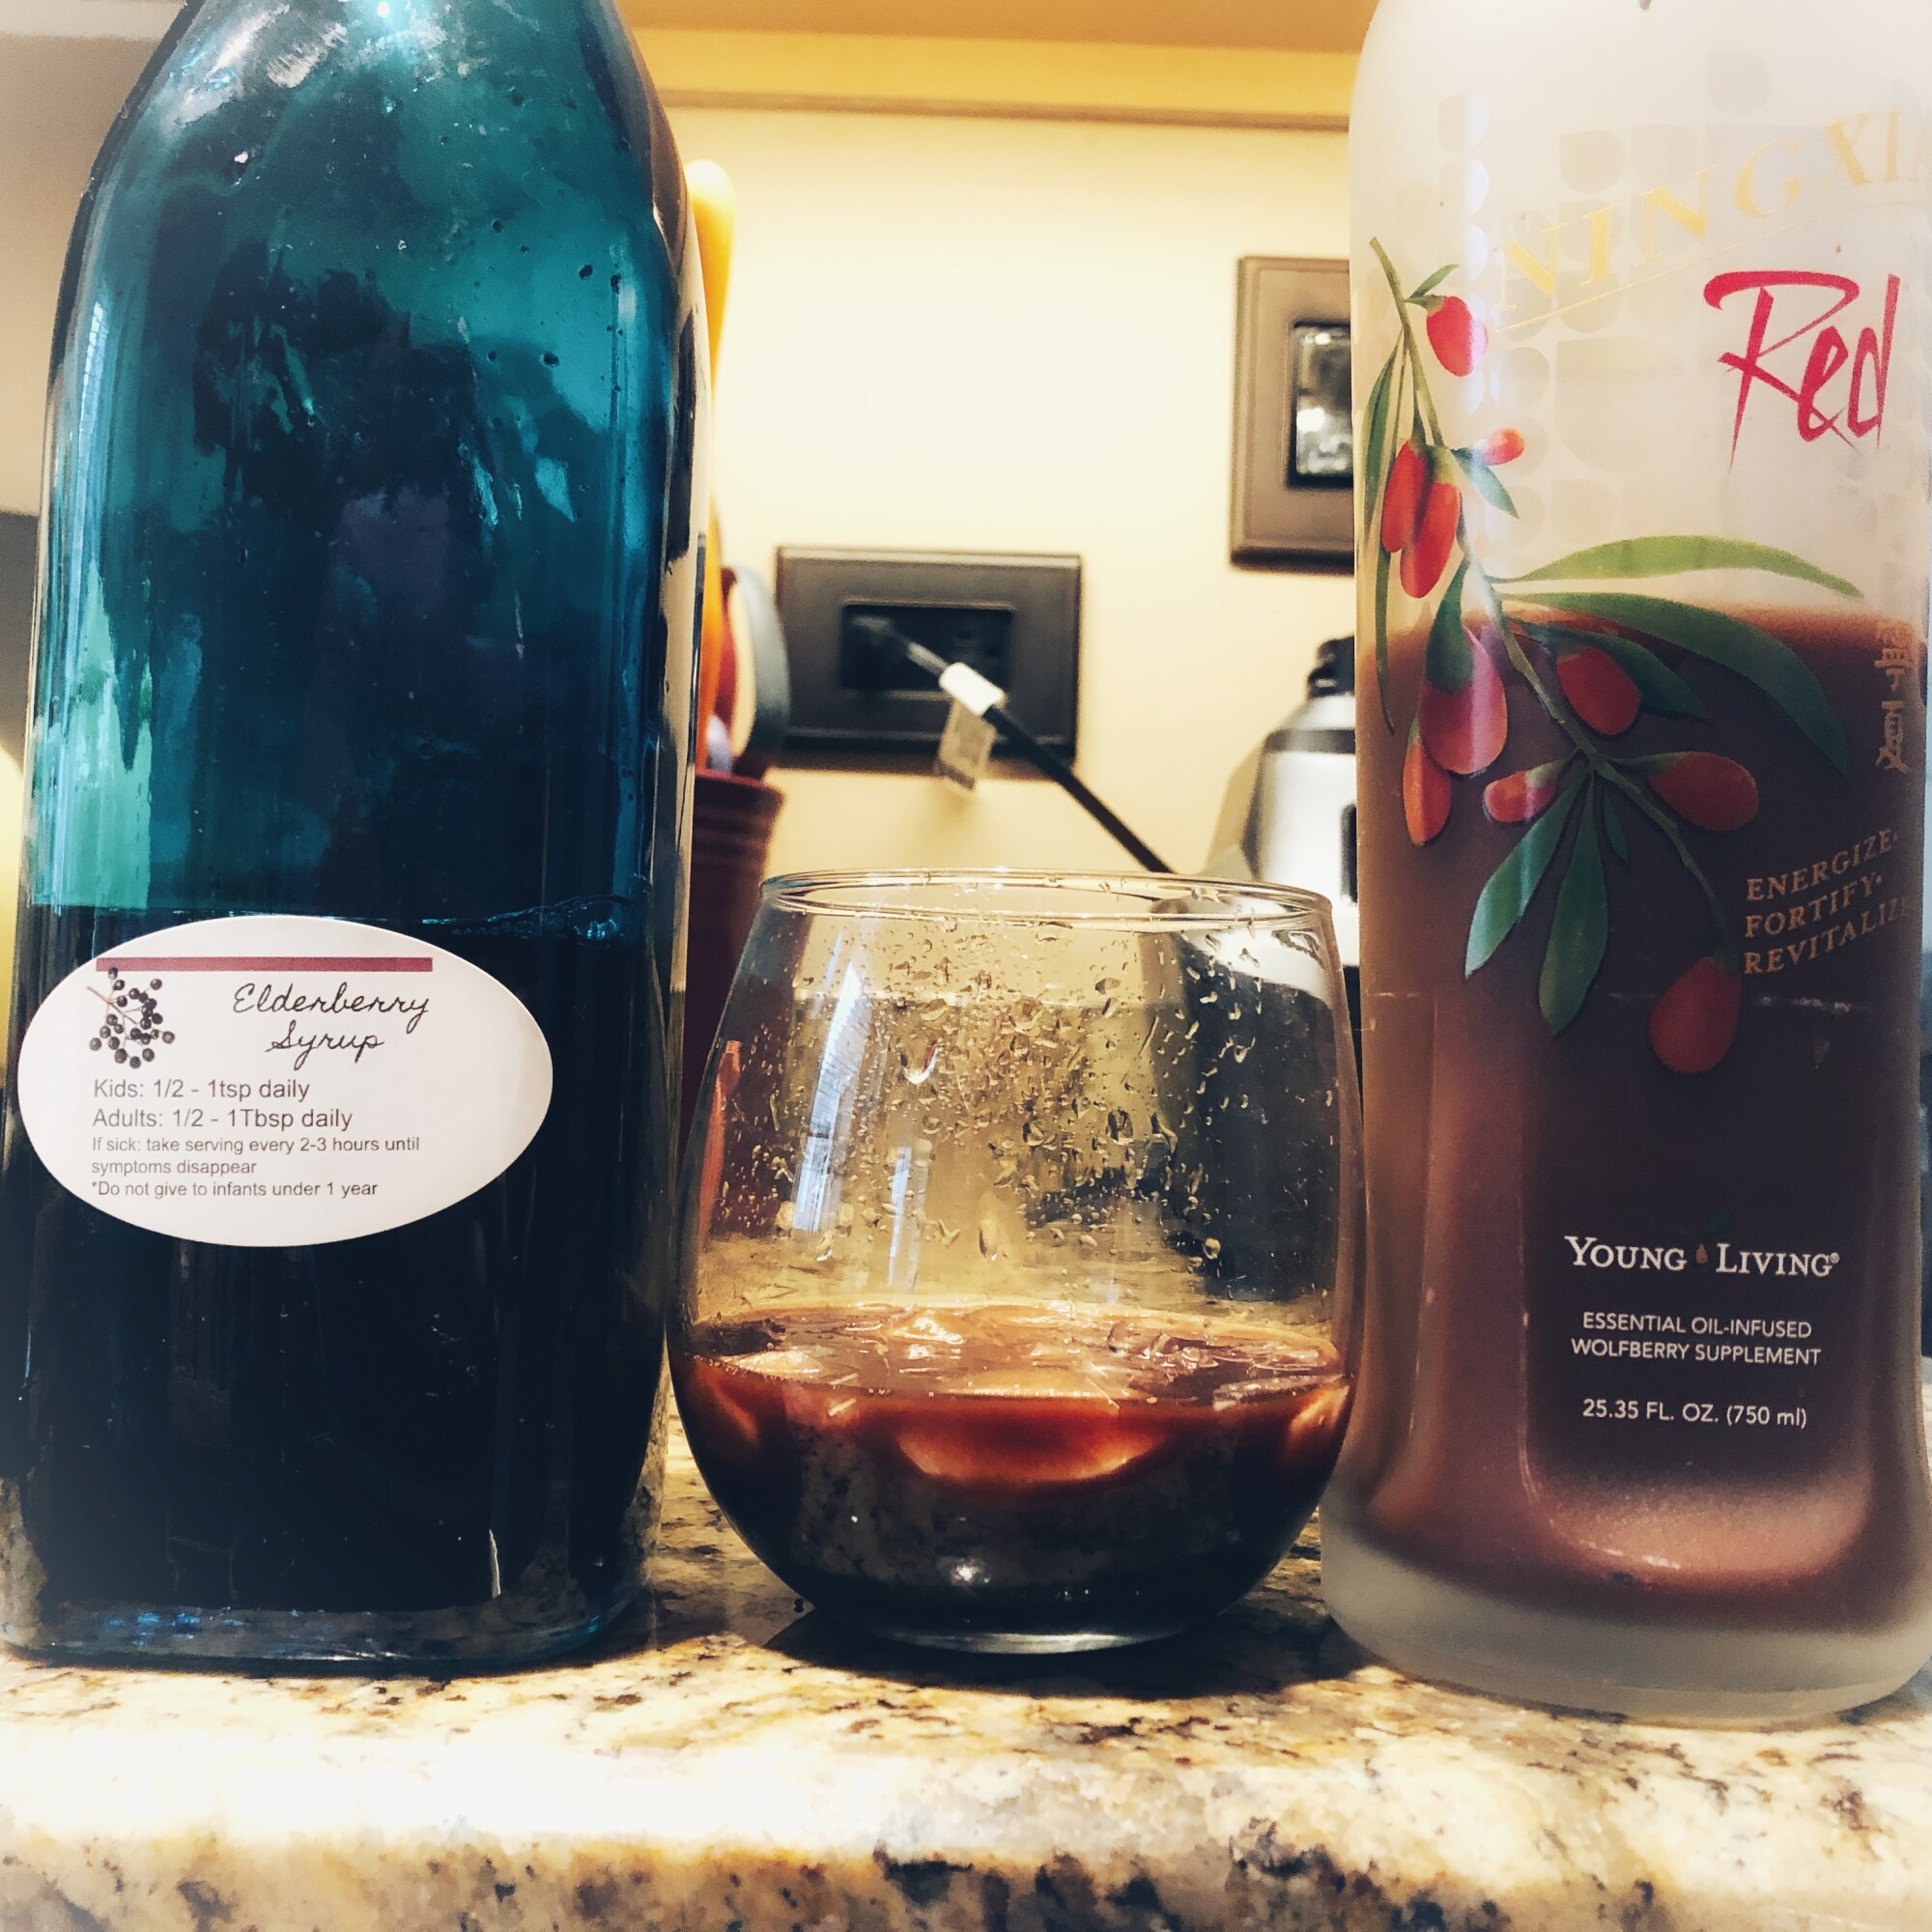
Elderberry Syrup
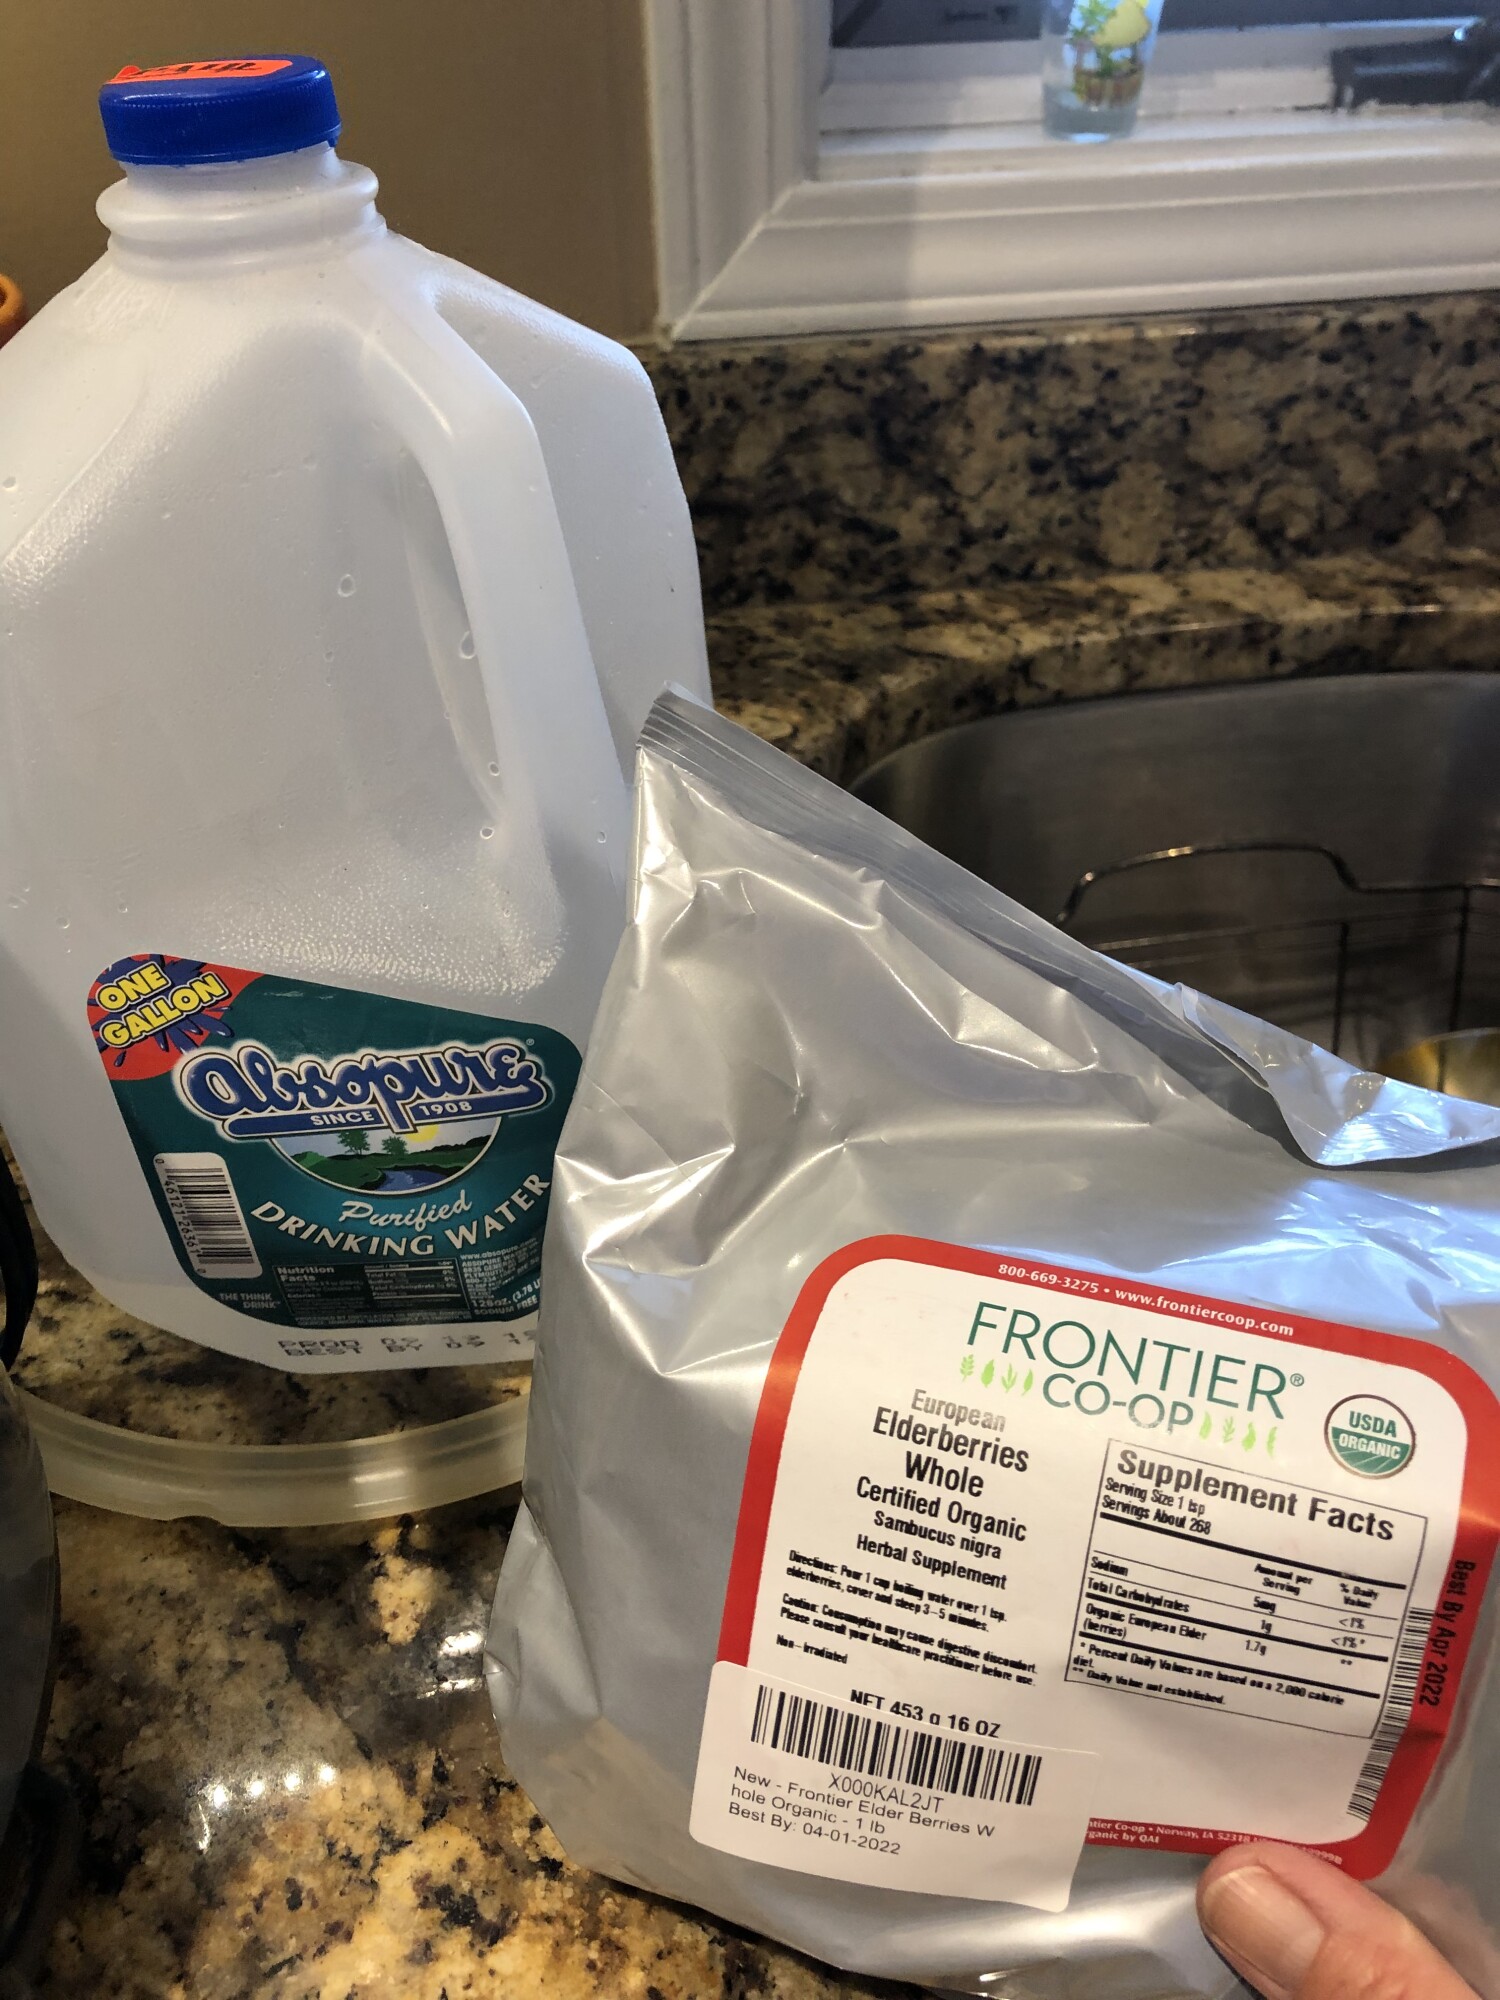
1-1/2 cup dried elderberries I like Frontier Co-op.
(In Flu seasons, these prices are double the price what they are in early fall - stock up then!)
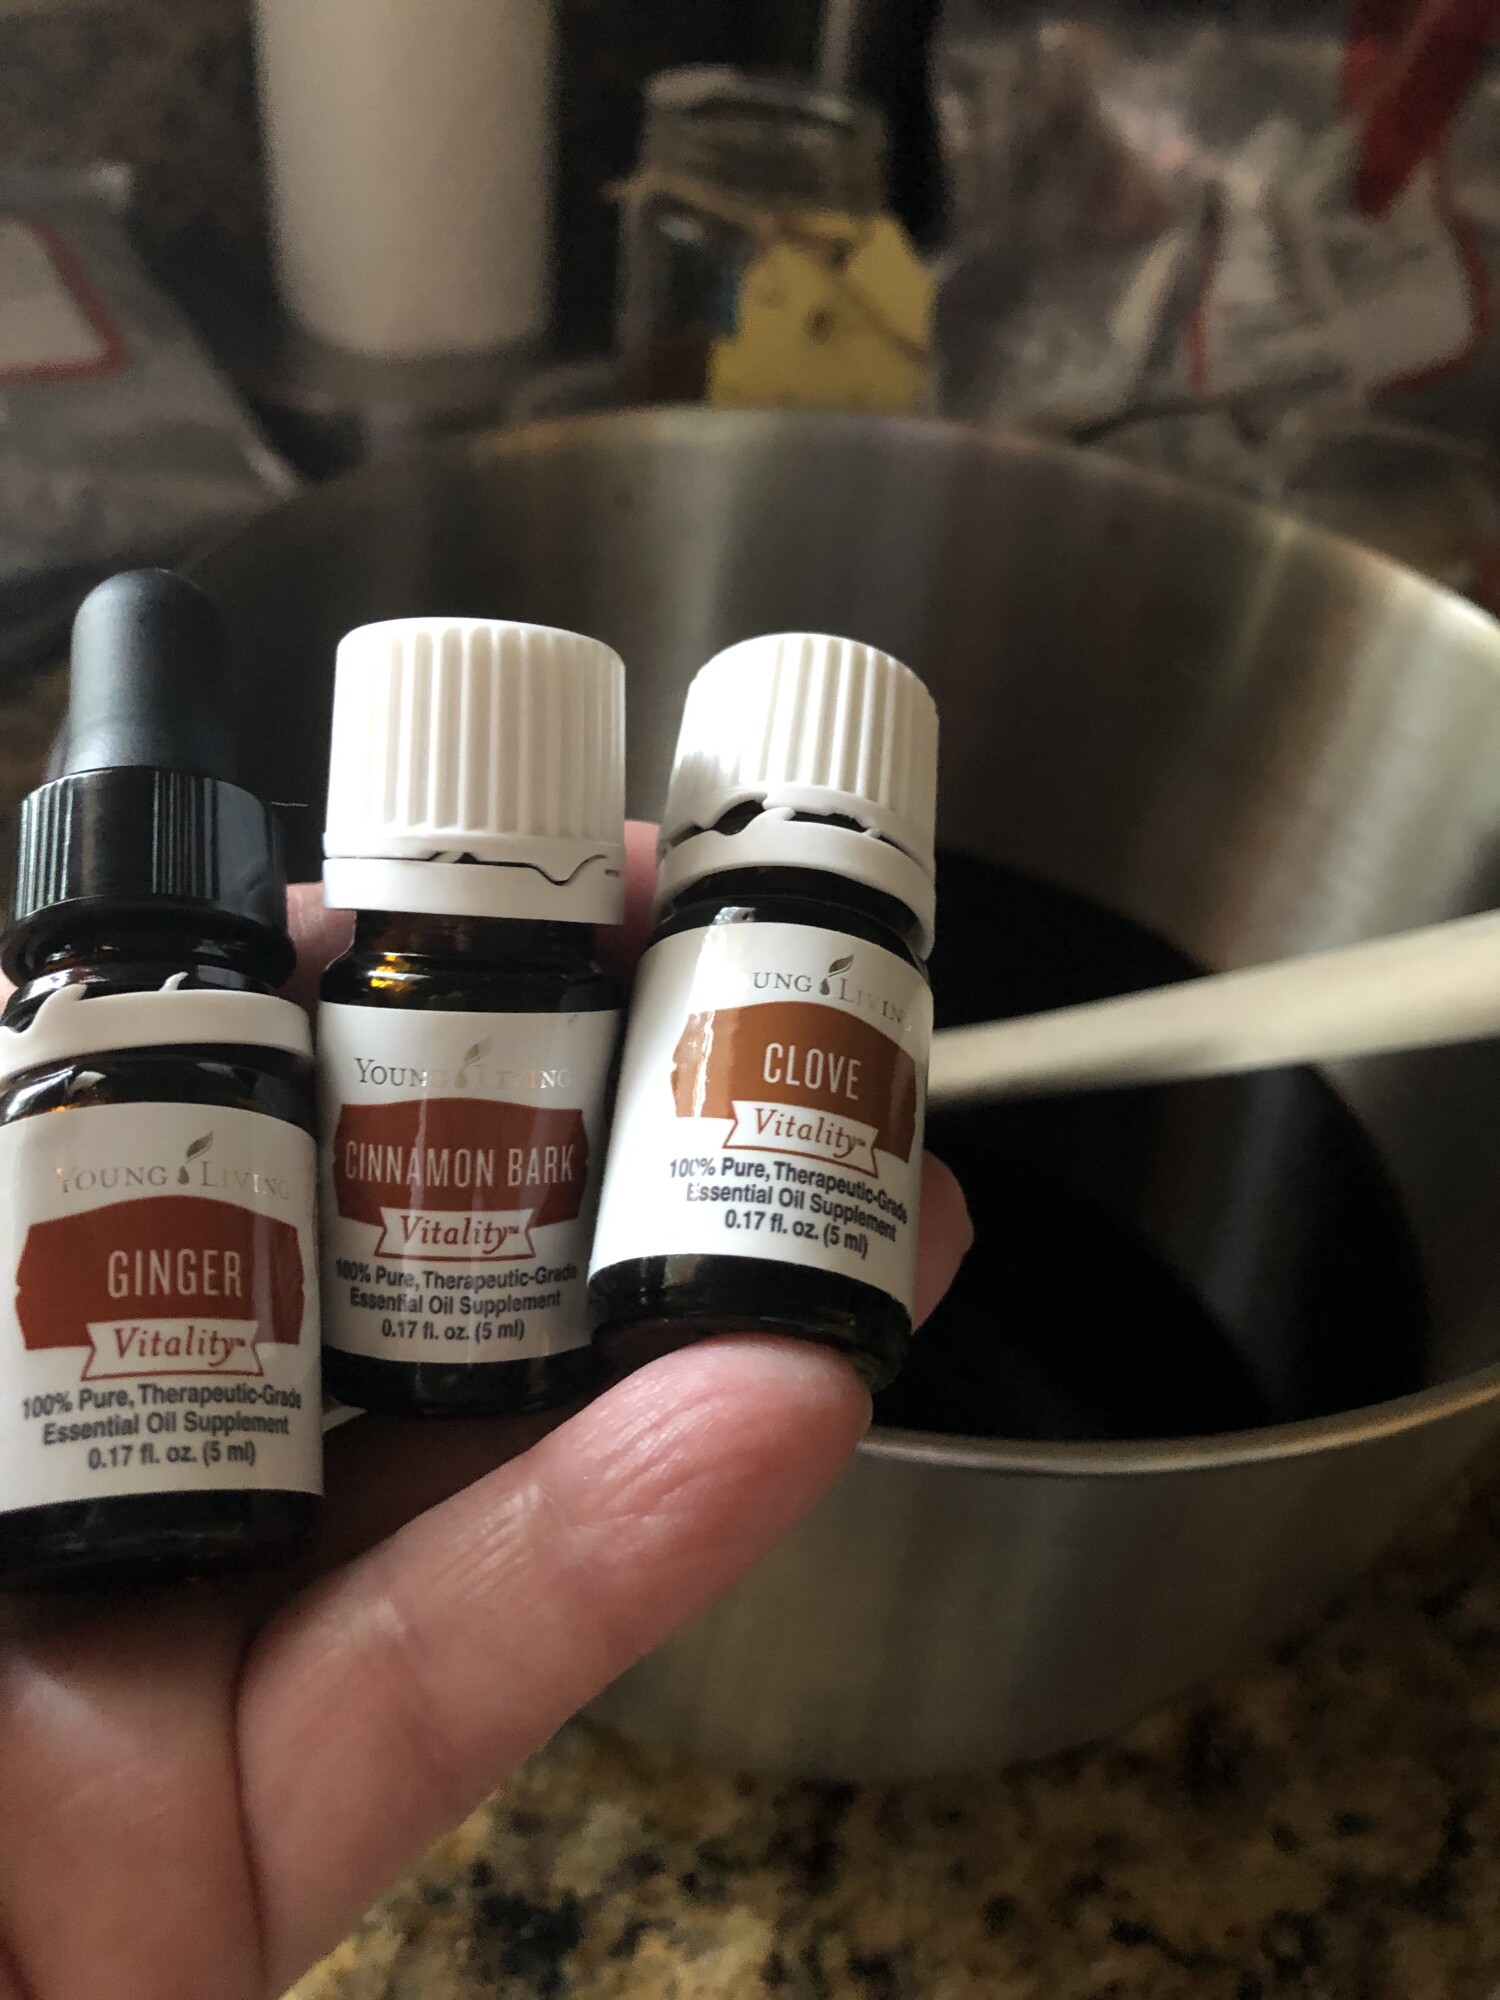
1 drop Ginger
1 drop Cinnamon Bark
1 drop clove
(optional other oils: Thieves, Orange, Copaiba, Frankincense, Lemon or any others you chose)**
There are two options for cooking. The trick is to make sure it’s cooked long enough to reduce the liquid by about half or almost by half. Remember, ALWAYS add the honey and essential oils after cooking for either method!

Instant Pot Method: Add the dried elderberries and water to the pot. Turn on “Manual” setting and set the time for 7 minutes at high pressure. When finished, release the pressure. You can saute a little longer (10 minutes or so) for a thicker or more potent syrup, but I do not do that. (SEE FINAL STEPS FOR THE REST OF THE INSTRUCTIONS!)
Stovetop Method: Add the dried elderberries and water to a large pot and bring to a boil. Allow to simmer for 45 minutes OR until the liquid has been reduced down to about about half. Some prefer to not simmer that long going for 20 to 30 minutes. It depends on how thick of a syrup you want. (Thicker will be more tart)
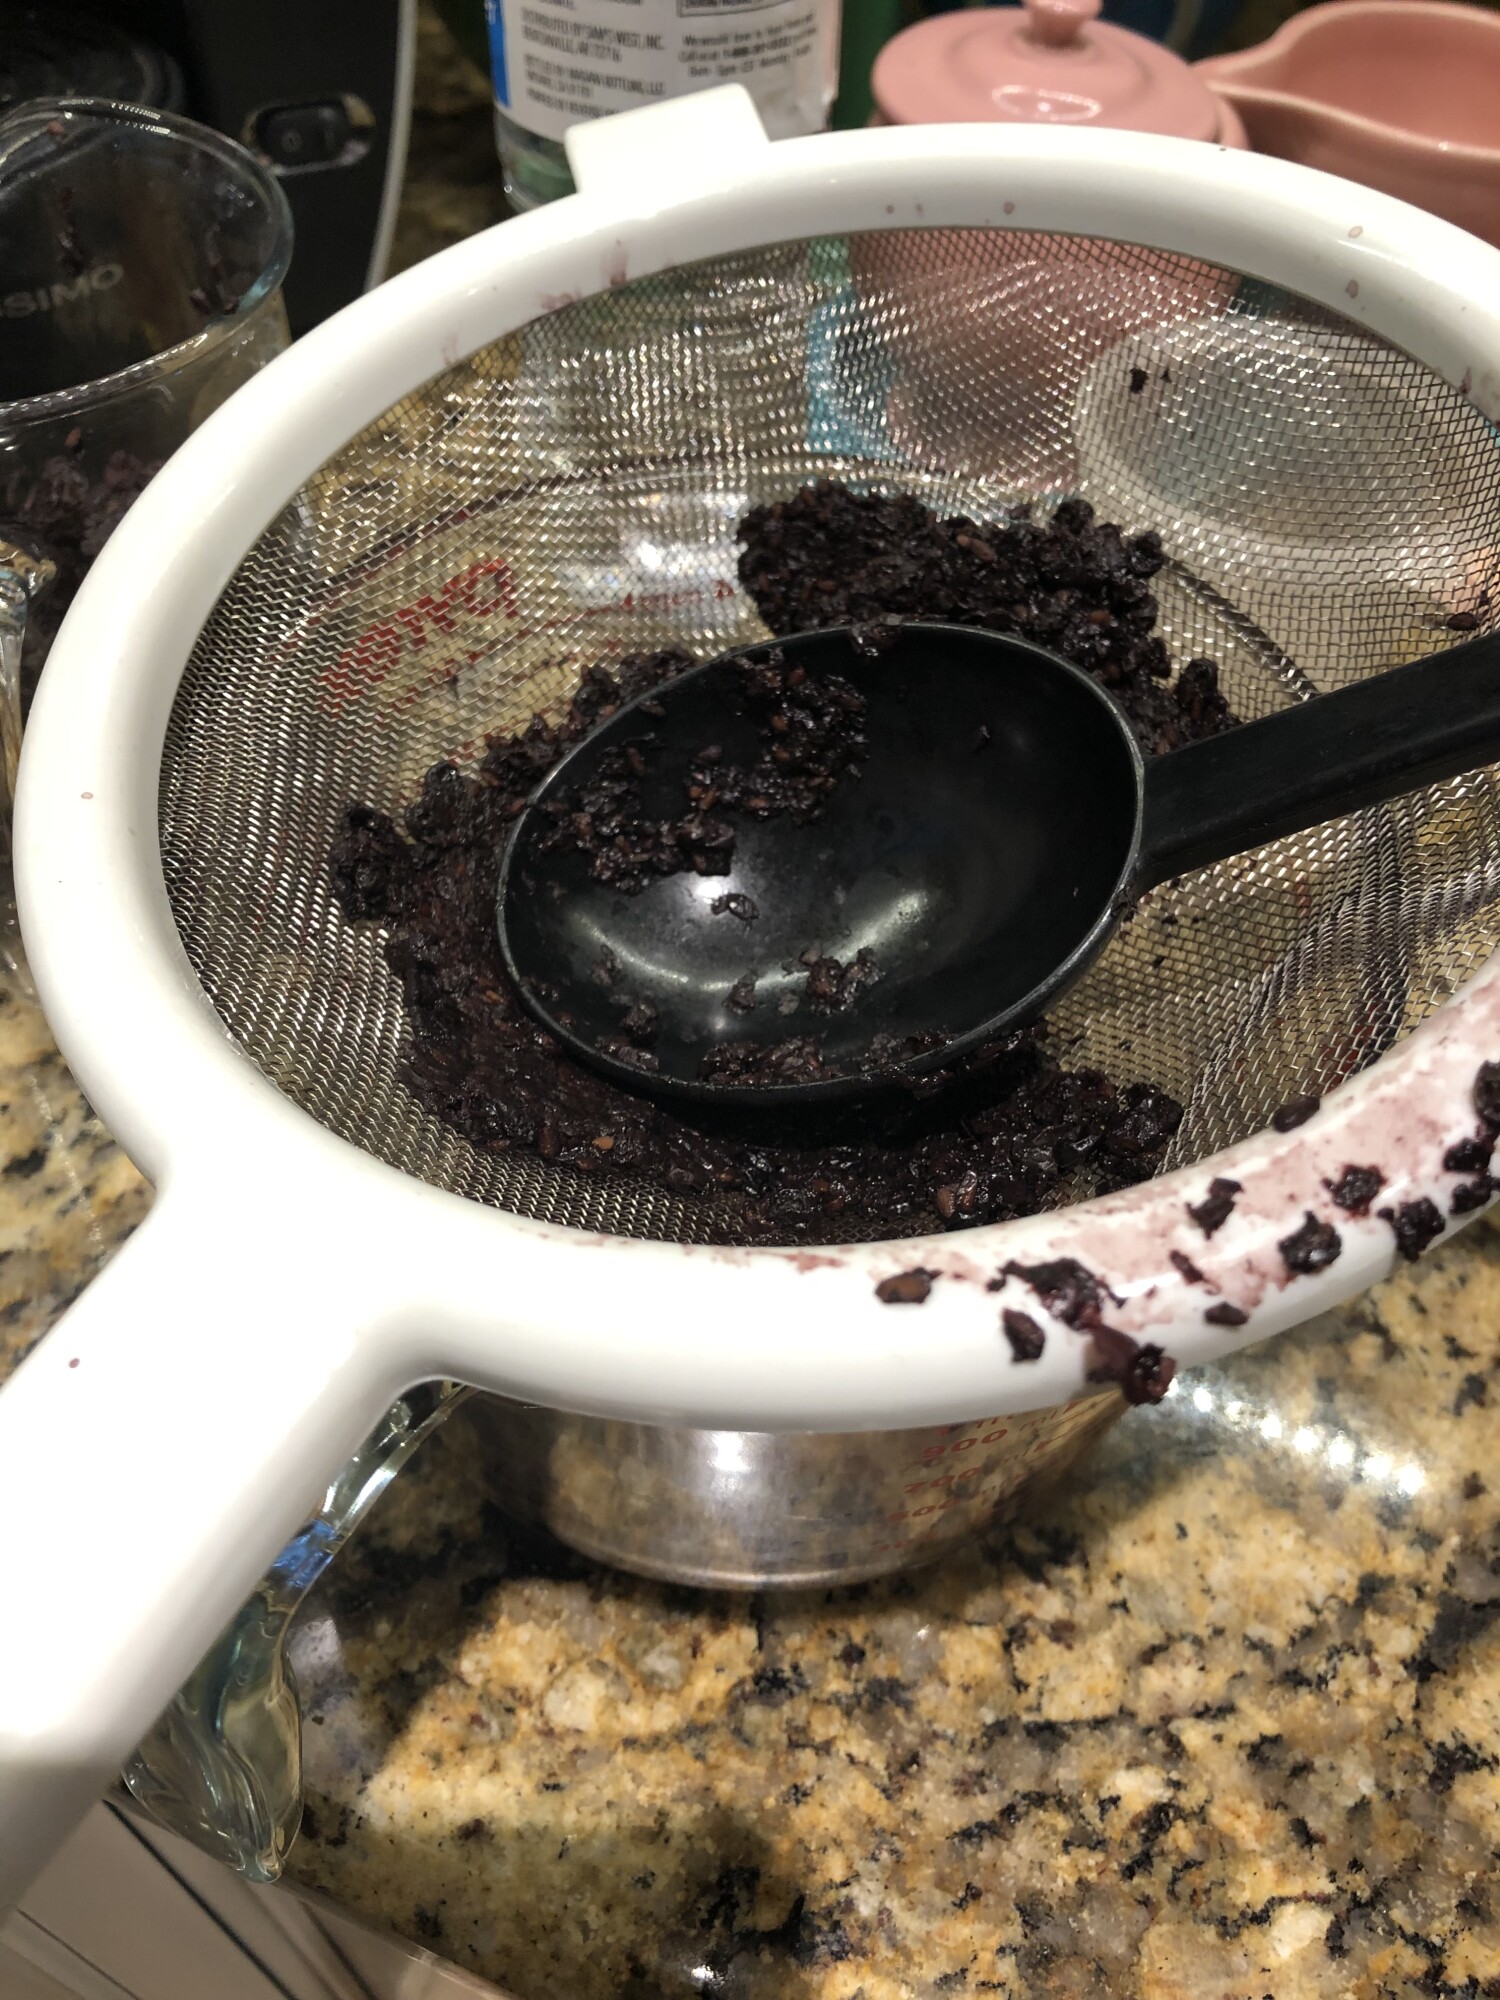
Final steps for both methods: Strain in small amounts through a fine mesh strainer or cheesecloth over a bowl. Gently press the strained berries with a spoon against the side of the strainer to release their juice, (or gently squeeze the cheesecloth) then discard the berries.
Once the entire batch has been strained and the liquid has been returned to the cooking pot, allow to cool a bit to a handling temperature, and then add the honey, Ginger, Cinnamon Bark and Clove essential oils. (The link is to many oil options, which include these, and our starter bundle - a big savings!)
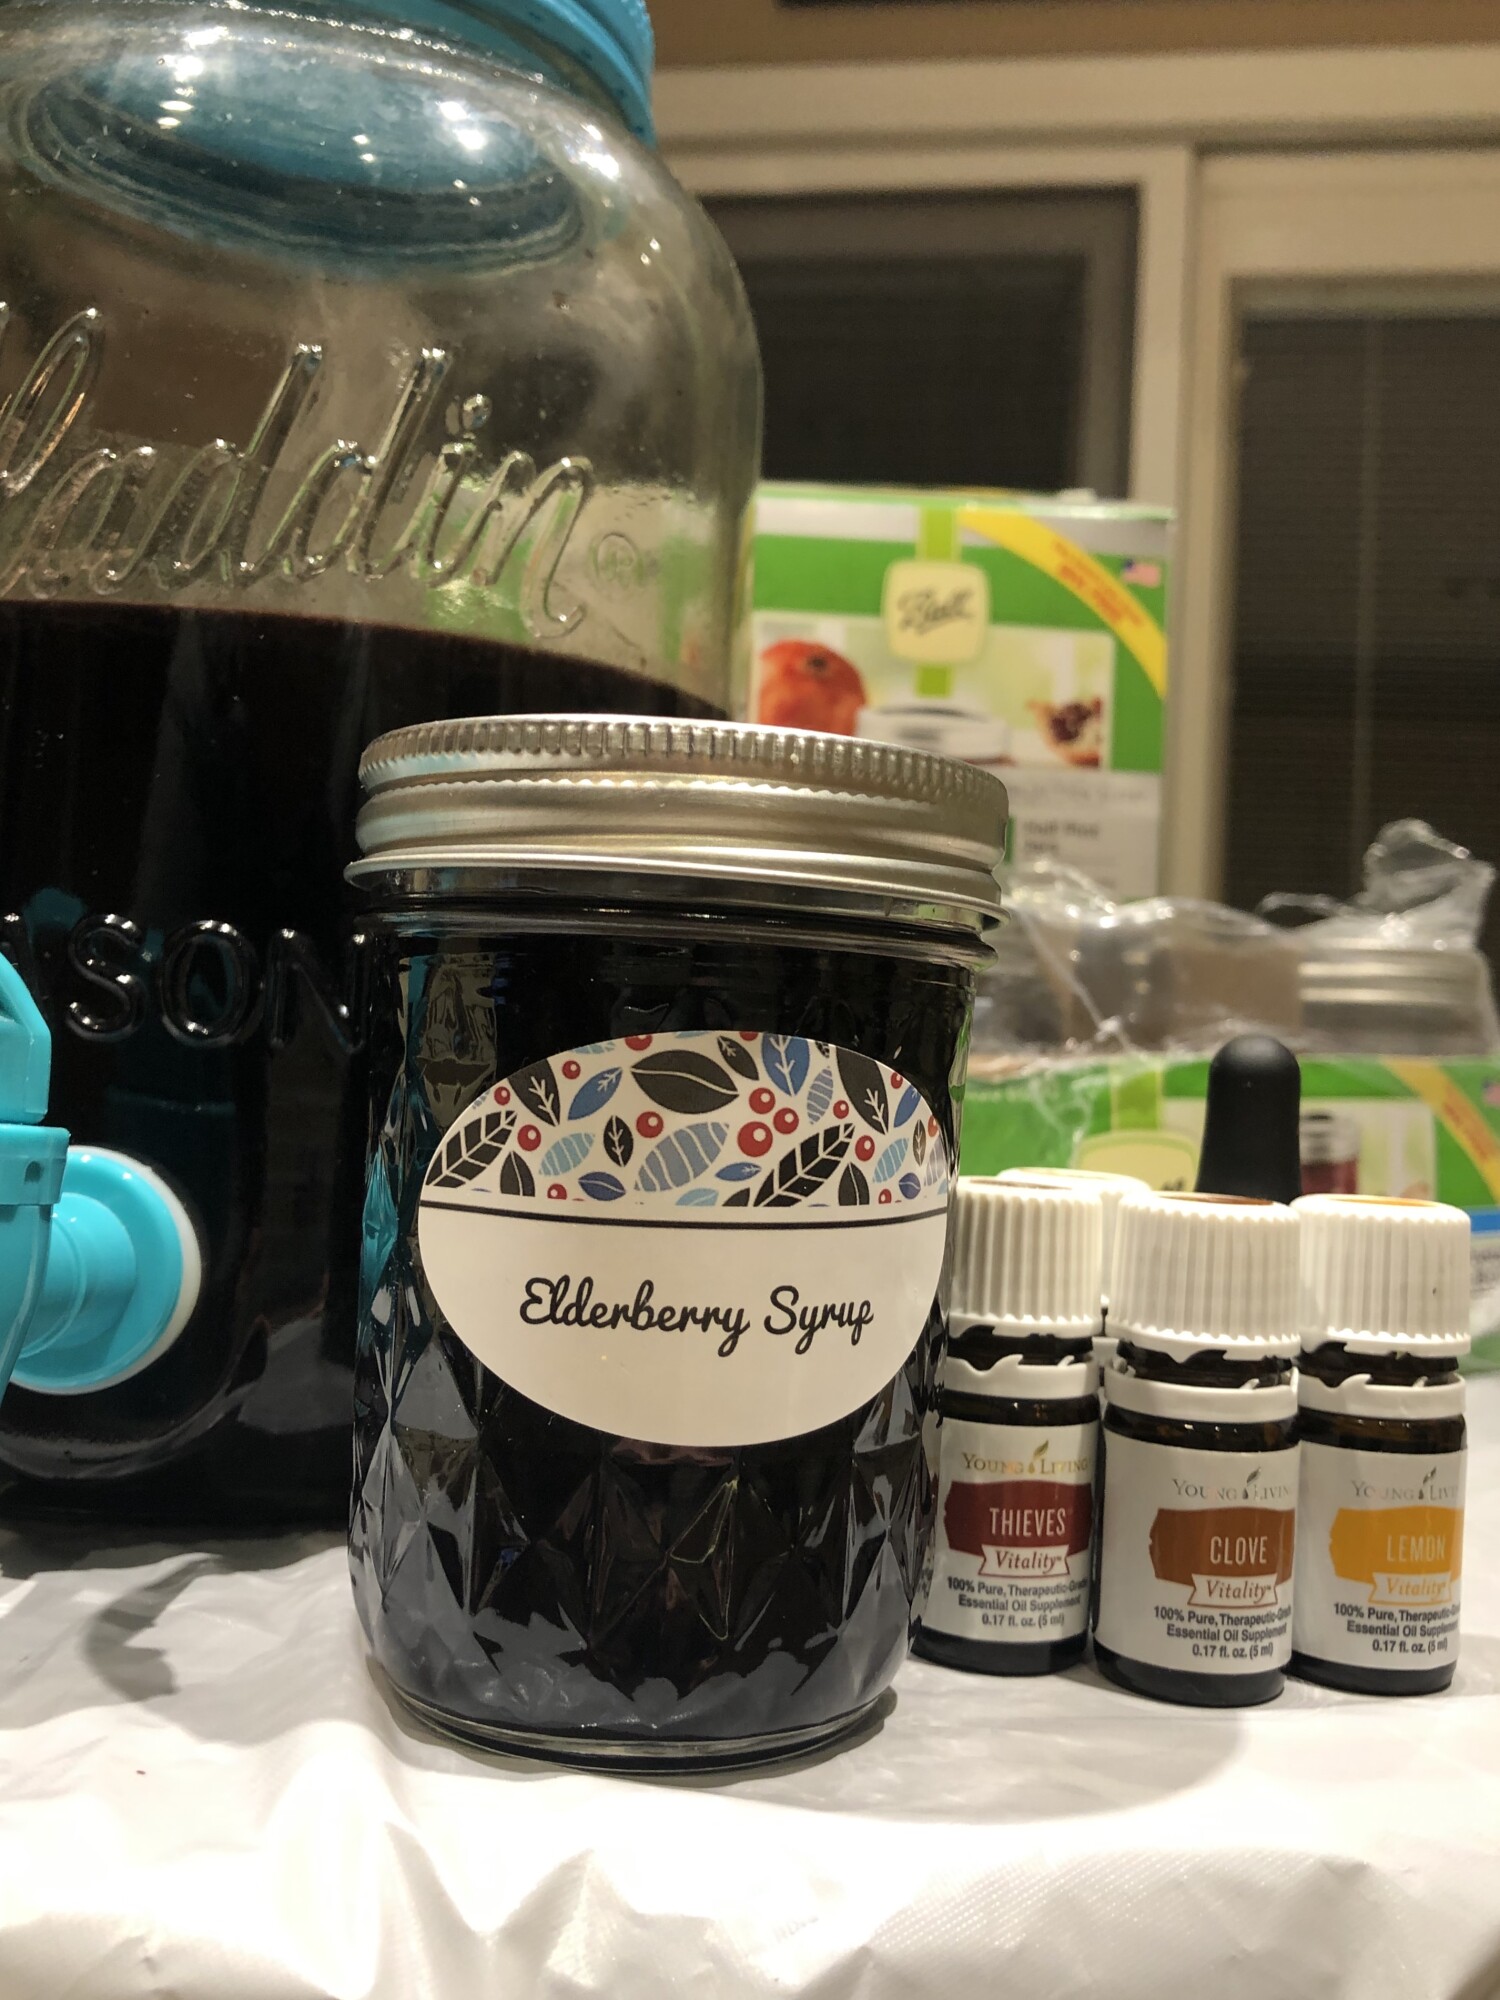
Stir and refrigerate until ready to place into smaller bottles if desired. However you bottle your syrups, always refrigerate it until it's gone! You can add ¾ cup to an 8 ounce Ball jar and add Young Living Vitality essential oils of choice. Examples of more oils for both flavors and health benefits are:
3 drops Orange and 1 drop Copaiba (makes a GREAT cough remedy!)
2 drops Thieves, 3 drops Lemon (great for extra immune support!)
2 drops Frankincense, 3 drops Orange, 2 drops Lemon (good for the flu!)
Read your reference book or use what you know to add oils to your individual jars. Keep the syrup refrigerated until it’s gone. Use within 3 to 6 months. Get creative with bottles and labels. Here are a few FREE Printable styles just for you! Both are the Avery 22804 labels. Elderberry1.pdf Elderberry2.pdf. Get creative, enjoy and share the goodness. Just make sure when you give it to your loved on that you remind them to pop it in the fridge right away and to KEEP it there until it's used, or 3 to 6 months have passed. Have I said that enough yet? To keep it in the fridge? K, just checking. I told everyone that I gave it to to keep it chilled - even gave the a sheet with instructions that said "Keep in Fridge". Did they all do it? Nope!
HOW TO TAKE IT
• Kids that are old enough for honey take 1 teaspoon a day.
• Adults take 1 TBSP a day
•Sick? Take 2 or 3 times a day for a while * (see notes below)
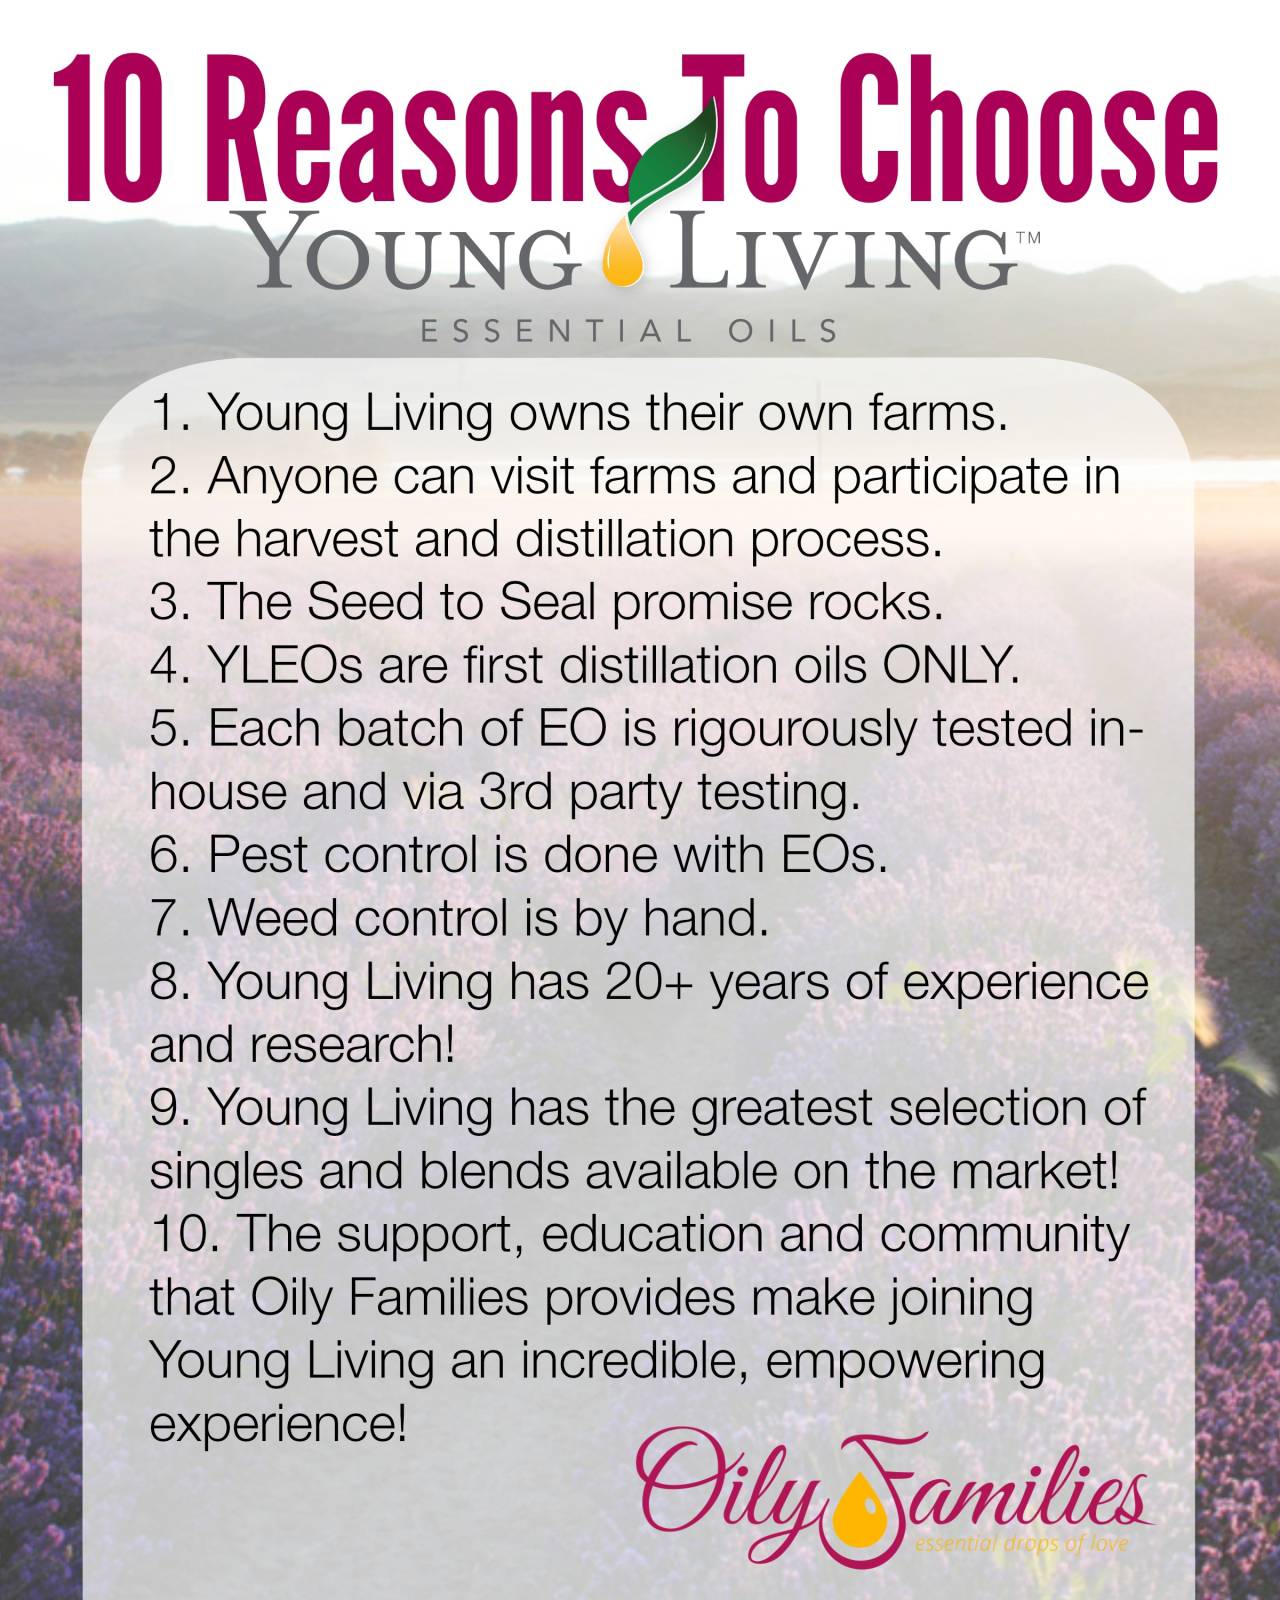
• Feel free to add any of the Vitality Essential oils from Young Living that you want to take to your daily dose.
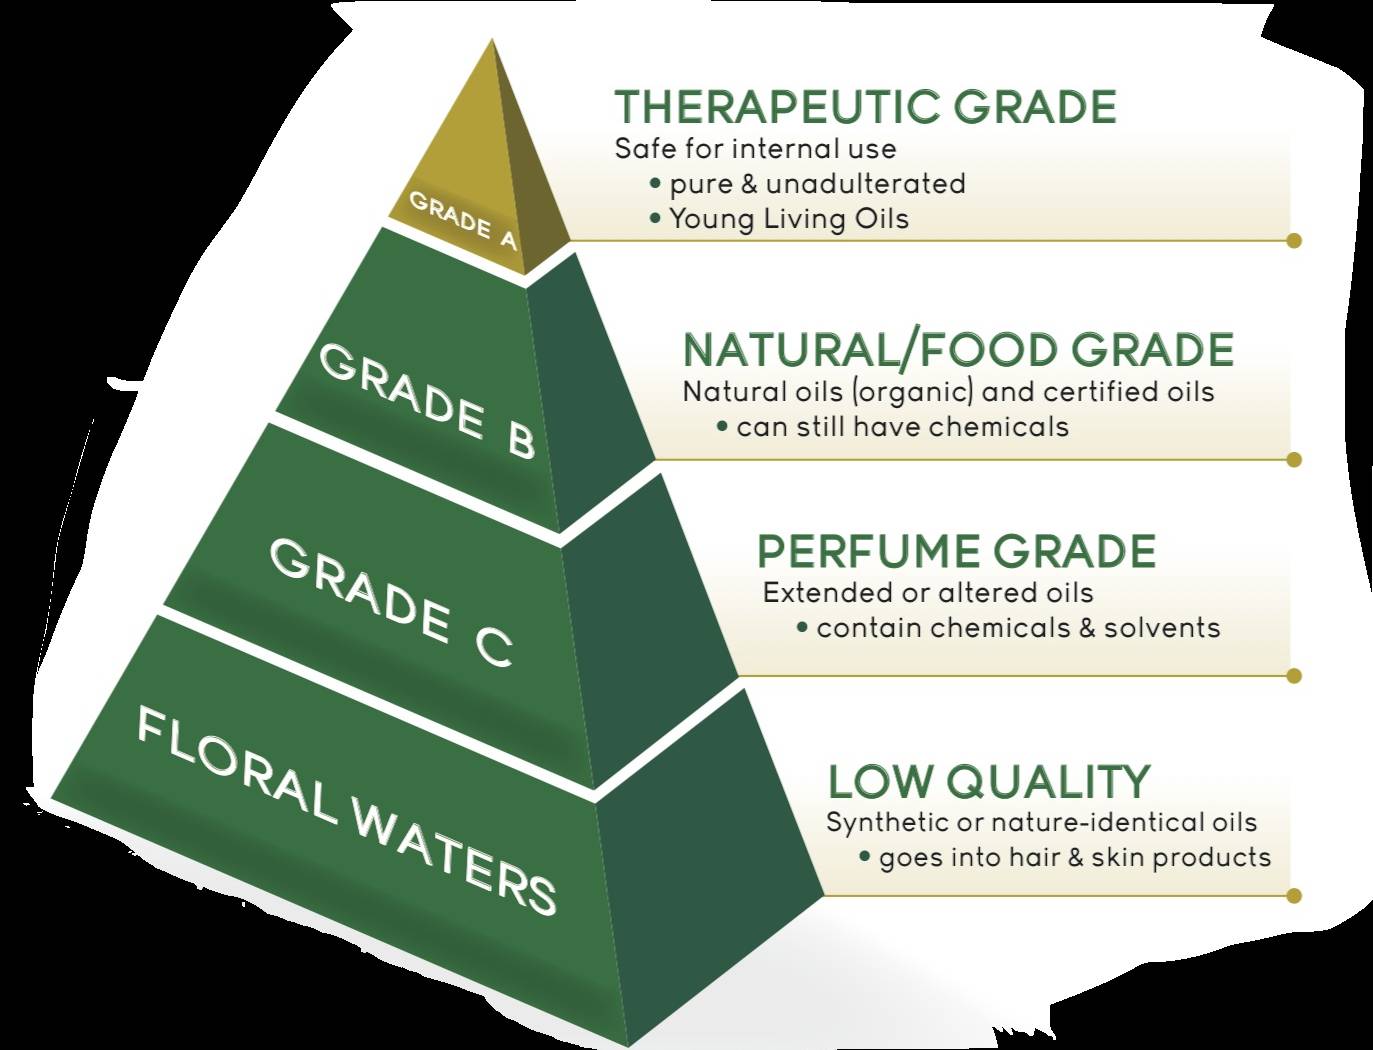
• NEVER TAKE ESSENTIAL OILS INTERNALLY THAT ARE NOT LABELLED FOR INTERNAL USE!!